
You should establish a working directory that is NOT the Kawa directory, and is NOT the Java instalation directory. Call it MyProject or something. All of your source files go into this directory and perhaps subdirectories. Your source files and project file go here. When you create the project navigate to this directory so that it is saved here. Otherwise you willl have problems. Put your test files here also and any other files/programs that you work with directly.
To use Kawa successfully you need to set it up before you use it. Professor Wolf has additional information on setting up Kawa. Start with this page as it shows you most of the basics.
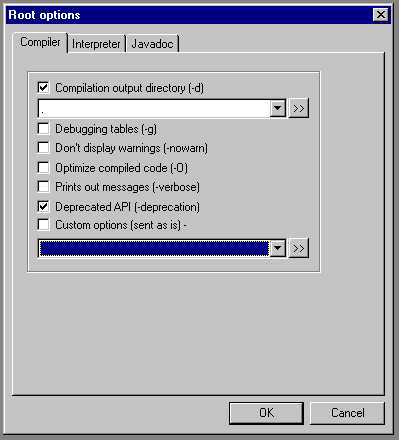
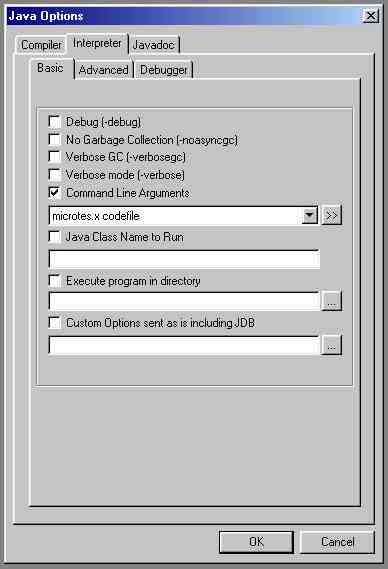
There are some additional options you need to set also to make your project work correctly.


The Kawa window has two panes. At the top of the left pane are four icons. The leftmost one is your list of projects. The second one is the list of packages in the java system. The third icon is the debugger, and the last one contains help for Kawa. This last one will only work if the Kawa paths are set up correctly. From the Customize menu select Options and then select the Kawa Paths tab. The Help Index File should be called Kawa.ipg in the Kawa distribution folder. The JDK Package Index should be kawa.pkg in the same directory. You can type this in, or use the File... button and navigate to it after clicking the >> box next to the text field.