ssh -
authorized_keys
For this lab
to work we need to split into groups (one person will be the client another
person the server). One group has to be the server group and another group can be the client group. Follow the steps to the correspondent group.
Public key
cryptography uses a public key to encrypt data and a private key
to decrypt it. The name public key comes from the fact that you can make the
encryption key public without compromising the secrecy of the data or the
decryption key.
What this means
is that it is safe to send your public key (i.e. the contents of the ~/.ssh/id_rsa.pub file) in electronic mail or by other means e.g. to have a system
administrator of a remote site install that key into your ~/.ssh/authorized_keys file. For anyone to actually gain
access they need the corresponding private key (i.e. the decrypted contents of ~/.ssh/id_rsa) to identify
themselves.
To further
protect your private
key you should enter a passphrase to encrypt the key when it is
stored in the filesystem. This will prevent people from using it even if they
gain access to your files.
The very
first step is to use ssh-keygen to create an authentication key for yourself.
In most cases the defaults for this command are what you want.
Always, always, type in a good pass-phrase when prompted
for one. It can be multiple words (i.e. spaces are just fine within the
phrase), so you could choose a sentence that you can remember. Changing some of
the words by misspelling them or by changing some of the letters into digits is
highly recommended to increase the strength of your pass phrase.
Client Group and Sever Group:
Modify /etc/ssh/sshd_config
1.
Open a new
gnome-terminal and type:
su -
enter “redhat”
for the password
edit using nano the /etc/ssh/sshd_config
file:

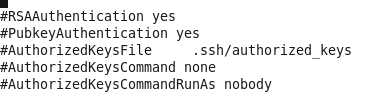
Look for these three lines uncomment them by removing the ‘#’ in
front:
Before:
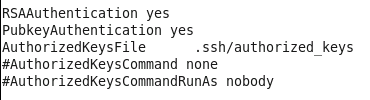
After:
2.
Do a CTRL+o to save and CTRL+x to exit nano
3.
Restart the ssh service:
service sshd restart

4.
Exit the and close the gnome-terminal
Client Group:
1.
Power-up your VM
2.
Log-in with the
student account
3.
Open the
gnome-terminal
4.
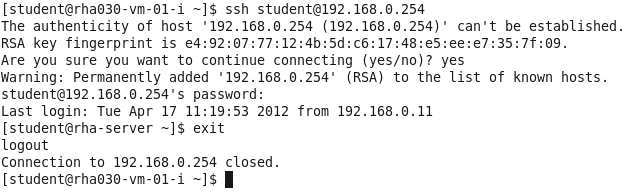
Create a
ssh session:
Type: “Yes” to continue
Password is “redhat”
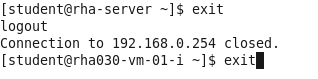
After login to the rha-server
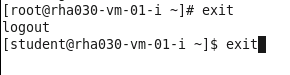
type “exit”
5.
Type “exit”
one more time to exit out of the gnome-terminal
6.
Please wait for all other students to fish step 5
7.
Open a new
gnome-terminal and type:
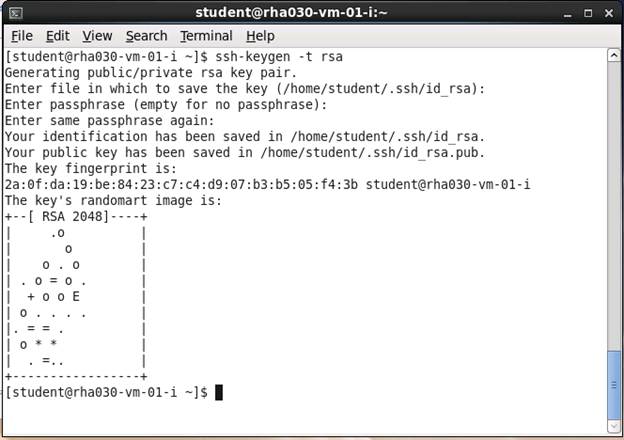
[student@rha030-vm-01-i
~]$ ssh-keygen -t rsa
Generating public/private rsa key pair.
Enter
file in which to save the key (/home/student/.ssh/id_rsa): [RETURN]
Enter
passphrase (empty for no passphrase): RedhatLinux
Enter
same passphrase again: RedhatLinux
Your
identification has been saved in /home/student/.ssh/id_rsa.
Your
public key has been saved in /home/student/.ssh/id_rsa.pub.
The
key fingerprint is:
b7:18:ad:3b:0b:50:5c:e1:da:2d:6f:5b:65:82:94:c5
8.
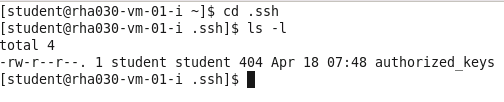
cd ~
9.
cd .ssh
10.
ls -la
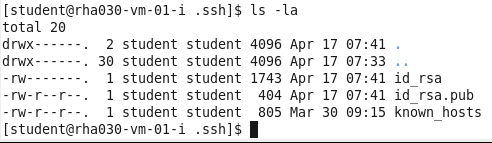
11.
cp id_rsa.pub authorized_keys
12.
ls -l

13.
Please ask your Server Group partner for the ip-address
of his/her computer.
14.
When executing
the following command replace the @ipaddress.of.client
with the ip-address of your Server Group partner.
scp -p ~/.ssh/authorized_keys
student@ipaddress.of.client:.ssh/

Type “yes”
Password for the student account is
“redhat”

15.
Confirm that Server Group is done and they have
received the authorized_keys file
Server
Group:
1.
Power-up your VM
2.
Log-in with the
student account
3.
Open the
gnome-terminal
4.
Create a ssh session:
Type: “Yes” to continue
Password is “redhat”
After login to the rha-server
type “exit”
5.
Type “exit”
one more type to exit out of the gnome-terminal
6.
Please wait for all other students to fish step 5
7.
Open a new
gnome-terminal and type:
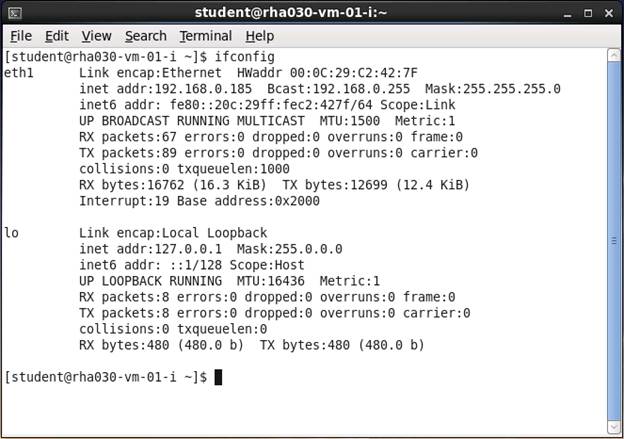
8.
Type ifconfig and provide the ip-address
of eth1 when requested by your Client
Group partner:
9.
Please confirm that you have received the authorized_keys file. This
authentication token will serve as the authentication token for the client to
communicate with your machine (server)
Client
Group – “Testing a Password-less Login”
1.
Using the ip-address from your server group partner open the gnome-terminal and type:
* When executing the following command replace the @ipaddress.of.client with the ip-address
of your partner:

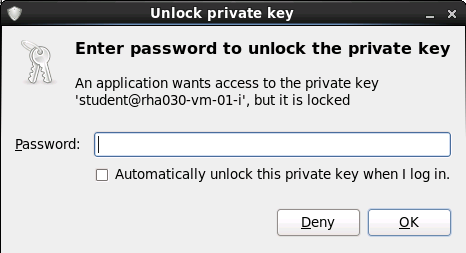
When you are prompted with the “unlock private key message” enter the passphrase “RedhatLinux” it is normal behavior to ask for this
information on the first time you establish a connection to the server.
2.
Type exit to close the
connection:

3.
To confirm that the authentication token is working, try to
establish a new connection again:
4.
Open a new gnome-terminal and try:
ssh
student@ ipaddress.of.client
5. At
this point you should be able to login to the server group machine without the need of a password.