puTTY Tutorial
puTTY is a terminal program for Windows that can communicate over a variety of protocols — the most interesting being SSH. There are numerous other Windows SSH clients, but puTTY is one of the easiest to get started with.
Downloading and Using puTTY
Download puTTY (http://www.chiark.greenend.org.uk/~sgtatham/putty/download.html). It comes as a plain .exe file, no need to install it.
Once downloaded, run the program.
You may see a dialog that resembles this one:
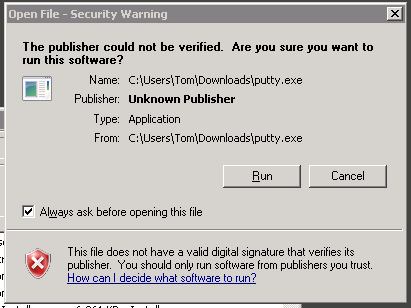
You can click ‘Run’ to continue. Once the program starts, you will be presented with a puTTY Configuration dialog. This is where we will put the host we want to connect to (vulcan.seidenberg.pace.edu).
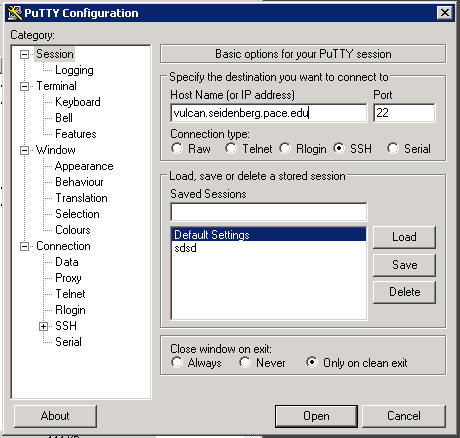
Make sure the “SSH” radio button is selected and that the port is set to 22 (these are the defaults). Once those fields are correct, press the “Open” button at the bottom. The first time you connect to Vulcan, you will be prompted to accept the server’s SSH host key. You’ll see a dialog like this:
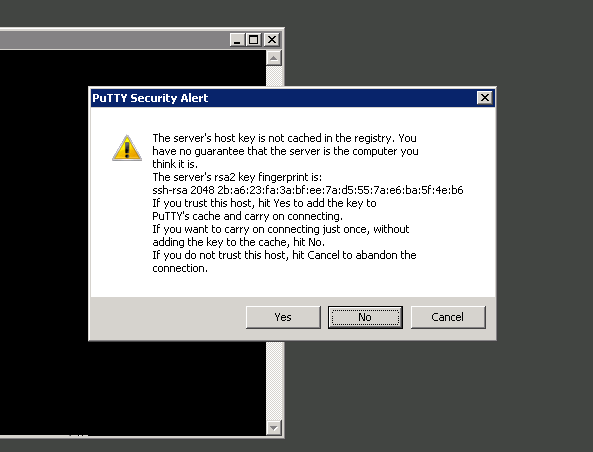
Click “Yes” to confim. You’ll be left with a black window and a username prompt.
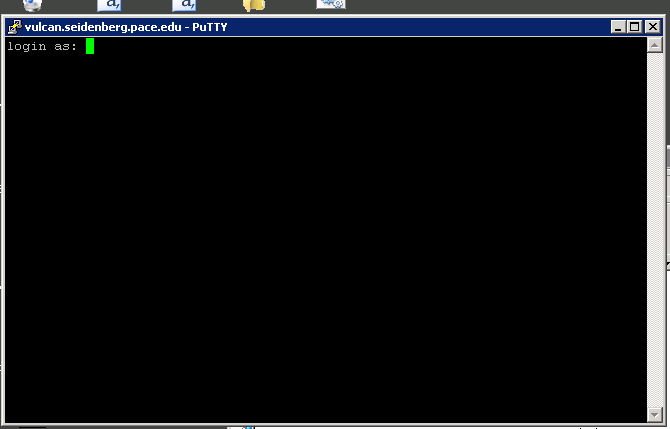
Enter your username, as provided by your professor. For example, s13-it628-s24. After entering your username, press enter. It will prompt you for a password. Enter it, then press enter. You should be logged in.
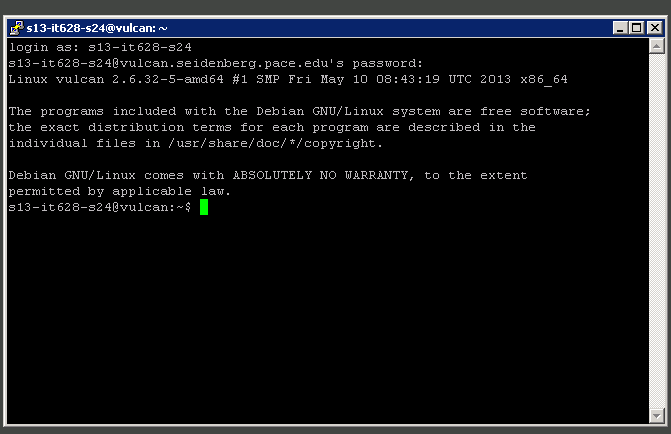
If you are not, you most likely mistyped either your username or your password.
Last edited, April 24, 2014 by treivik, pc=1.2.0-dev