|
1
|
|
|
2
|
|
|
3
|
|
|
4
|
- Opaqueness
- Translucent
- Blending
- Fading
- Composition
|
|
5
|
|
|
6
|
- When we created digital tattoos on the computer, we learned the art
concepts of opaque and translucent. In this exercise, we used the
opacity bar to make a tattoo translucent on human skin. The top layer
contained an image of a transparent tattoo and the bottom layer
contained an image of human skin.
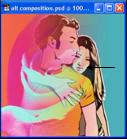
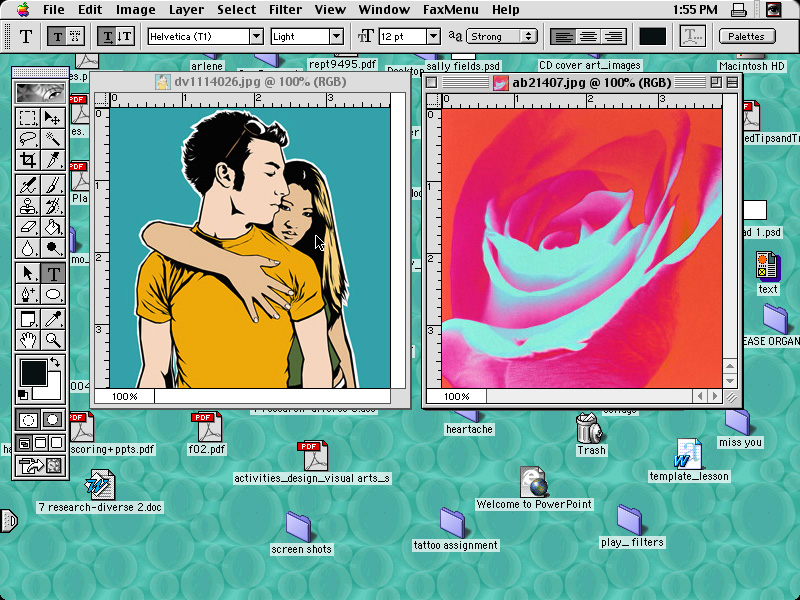
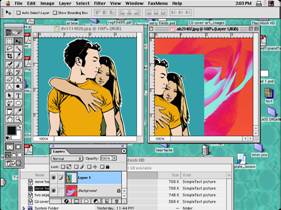
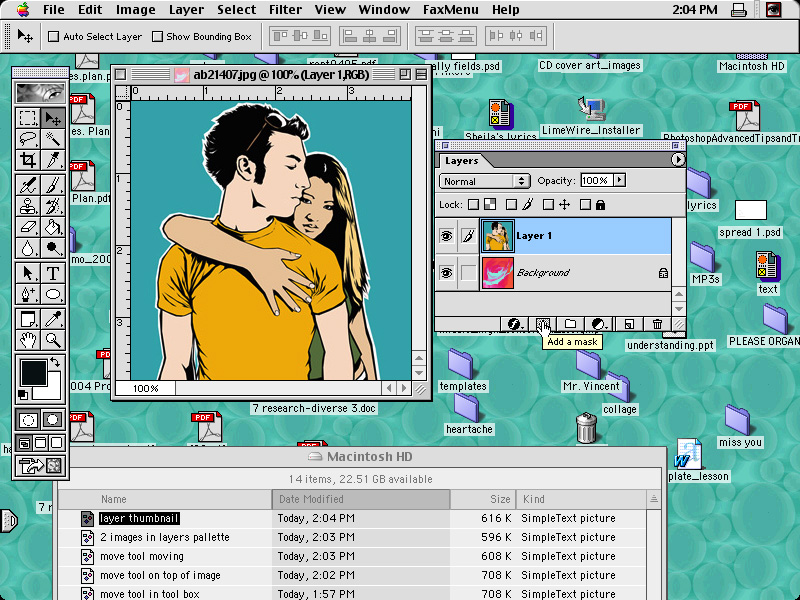
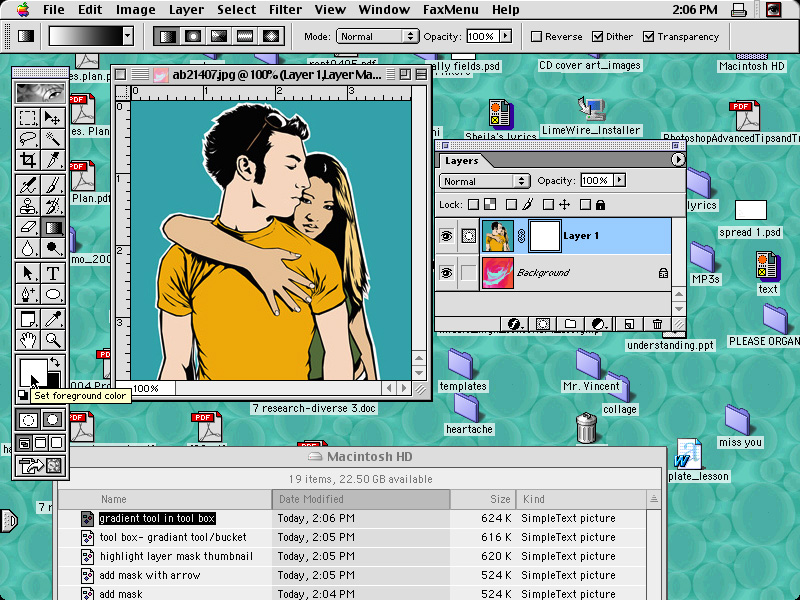
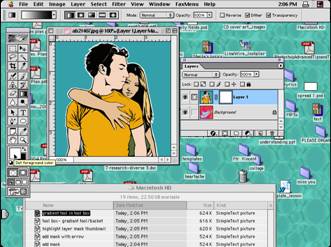
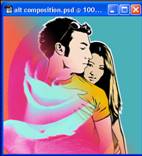
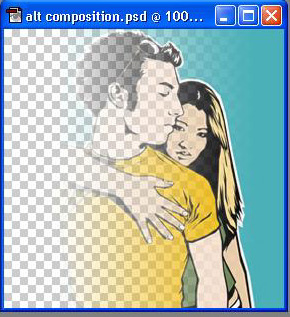
- Today, we are going to apply our knowledge of transparency and
opaqueness in order to design a digital CD cover of the lyric that we
downloaded from the internet. Instead of making the entire image
translucent, we are going to learn how to select specific areas of an
image that we want to be opaque and translucent. By creating a layer
mask, I am going to demonstrate how to blend two images. Unlike the
opacity bar, this tool allows the designer to control which parts of the
image will be opaque and translucent.
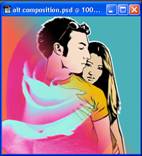
- As graphic designers, we will learn how the overall meaning of our song
relates to the composition that was created by a layer mask.
|
|
7
|
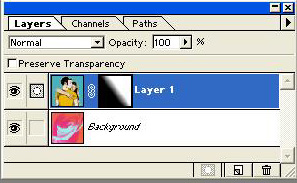
- An 8-bit channel that has a white or black as its background. The white
areas of the channel are to be seen and the black areas are to be
hidden.
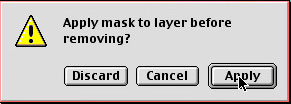
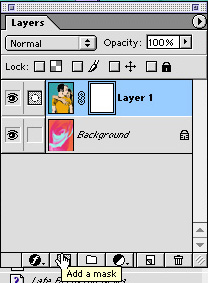
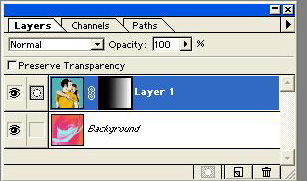
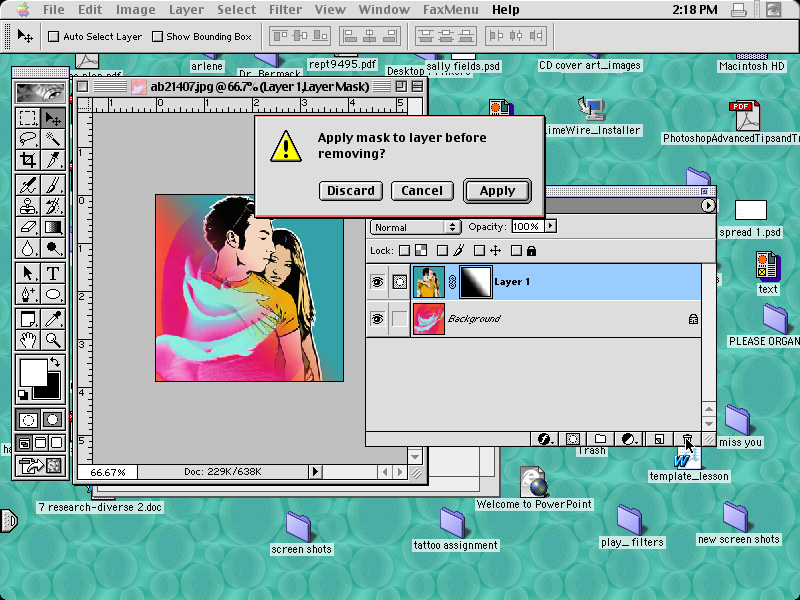
- A layer mask can temporarily hide pixels on a layer so that the graphic
designer can experiment with different compositions. A layer mask can be
applied to the image on that layer so that the composition can not be
changed.
|
|
8
|
|
|
9
|
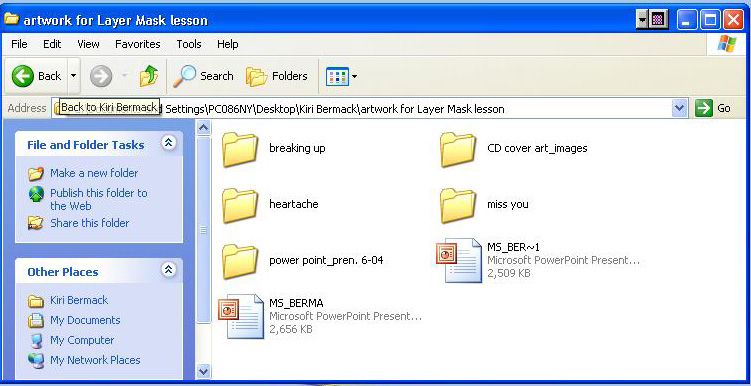
- Download or select two images from Ms. Bermack’s class folders that
represented the content or meaning of the song lyrics that you
downloaded from the internet.
|
|
10
|
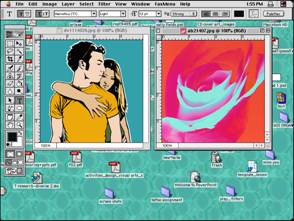
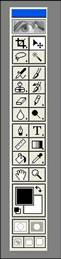
- Open these two images in Adobe Photoshop from the Cd cover images
folder. Decide which image you would like on top of the other in order
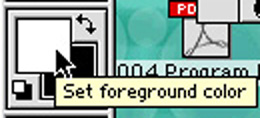
to blend them together. Locate the move tool on your tool bar. We are
going to use the move tool to copy and paste an image to a different
file.
|
|
11
|
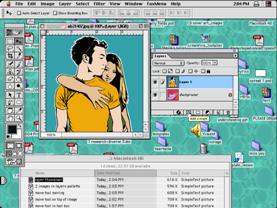
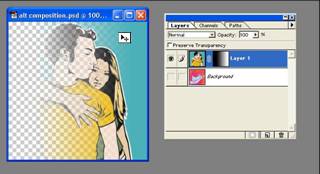
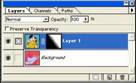
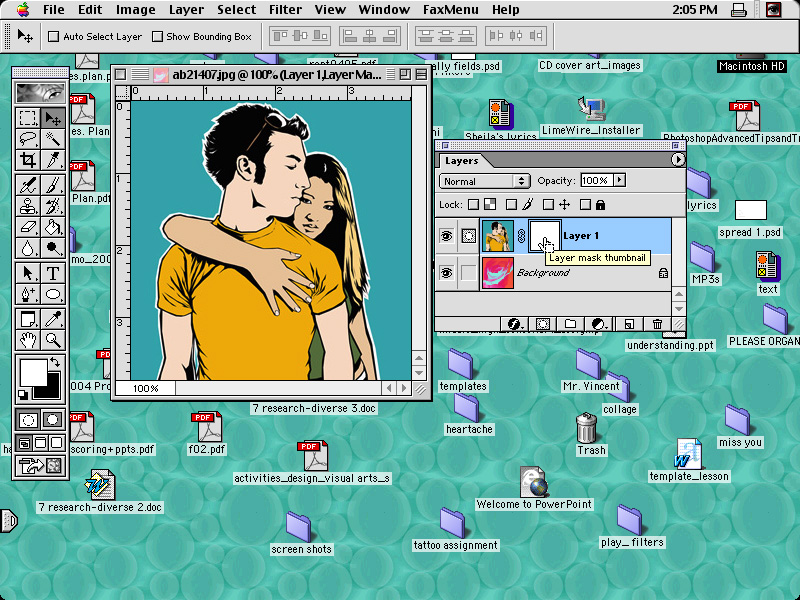
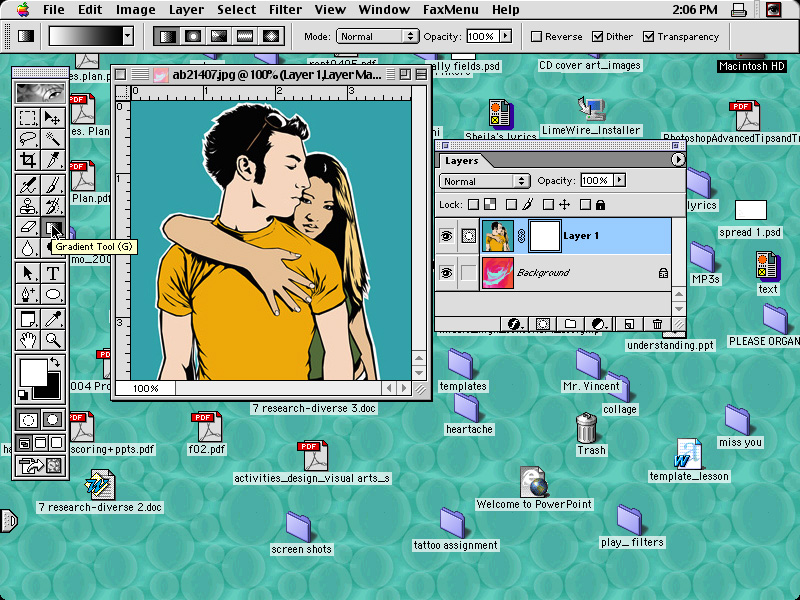
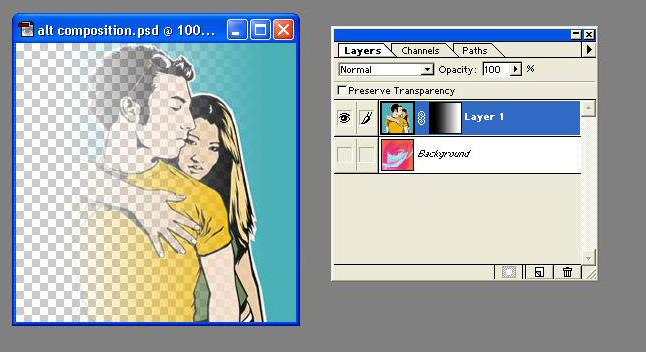
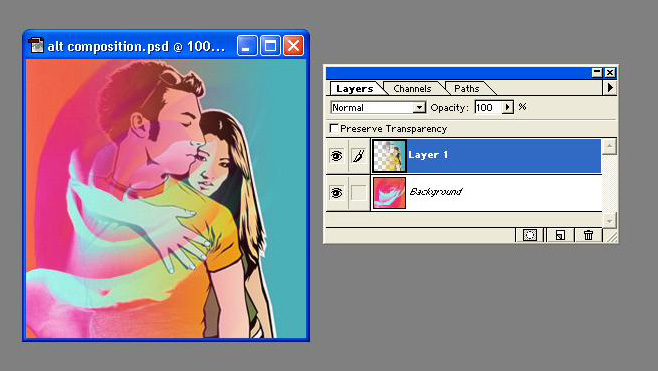
- Utilizing the move tool, you can move one image to another file. If you
open up your layers palette, notice that the top layer contains the
image that was moved from the other file.
|
|
12
|
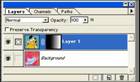
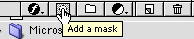
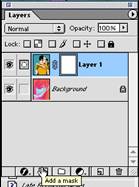
- Close all files, except the one that has two different images in one
file. The layer mask icon is the box next to the F icon on the bottom of
your layers palette. Locate the layer mask icon on your layers palette.
|
|
13
|
|
|
14
|
|
|
15
|
|
|
16
|
|
|
17
|
|
|
18
|
|
|
19
|
|
|
20
|
|
|
21
|
|
|
22
|
|

 Notes
Notes