Introduction to Java using SDK 1.3 and JCreator
Students with their own computers can download the Java Software Development Kit (SDK) 1.3 from the Sun website. The URL is http://java.sun.com/downloads/ . SDK 1.4.1 is approximately 100 MB. You might want to get one of the older versions. They will work fine too.
The development environment that we use is called JCreator. A light version can be found on their website at http://www.jcreator.com/. If you scroll down the page, you will see where to download the JCreator program. It is freeware, so there is no charge. The academic price for the professional version is $35.
Download and install SDK first. It is usually installed in a directory called jdk1.4.1 on your C: drive. You may put it elsewhere if you want, but it is easiest to use that directory. When done, you can download and install JCreator. Save the downloaded file to a location that you will remember. Then close all applications and go into Windows Explorer. Find your downloaded file, jcrea200.zip. You will need a program such as Win_Zip to unzip the files in the package. Extract them to a folder on your disk.
Next click on Setup in that folder. The following screen will appear. Follow the installation instructions.

After clicking on Next, you should see the window below.
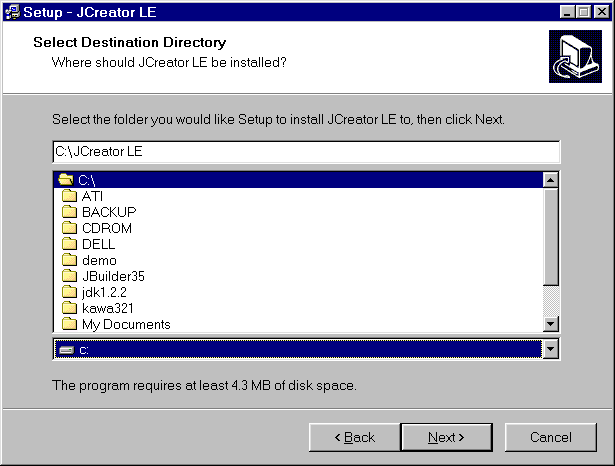
Select the drive where you wish to install JCreator and accept the name provided for the folder. If this is correct, click on Next. If the folder is not already on your system, you will be asked whether to create it. Select Yes.
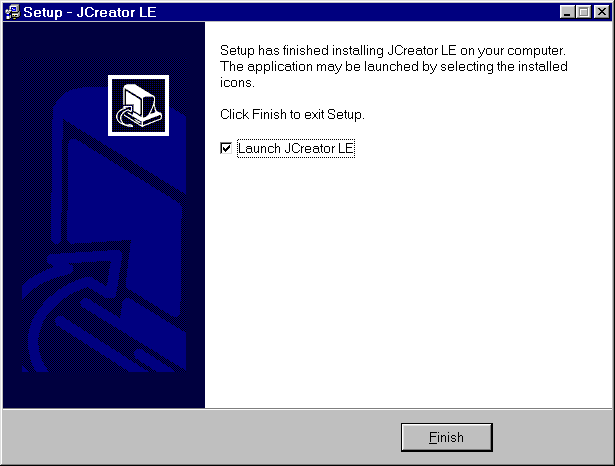
After selecting which start menu folder to use and whether or not you want a
desktop icon, click on Install to have the files extracted and stored on your
computer. At this point, you should be done and ready to start JCreator.
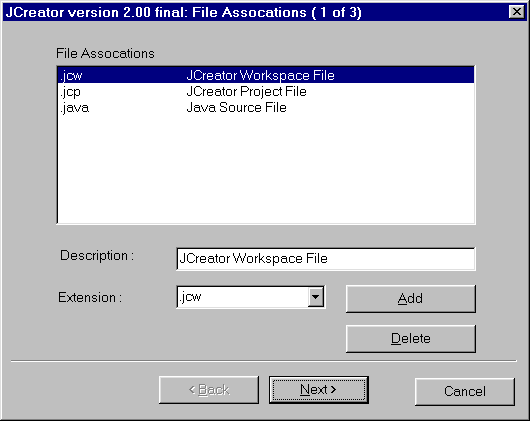
When JCreator is launched (started) for the first time, you will be asked which file associations to use. Add all three of them.
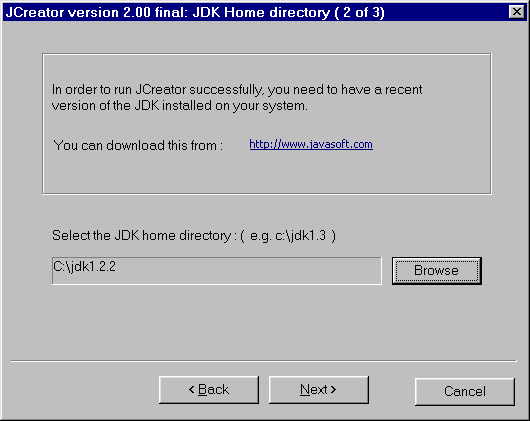
Next you must tell JCreator where to find the JDK files necessary for compiling and running your program. In the example below, the files were in the directory jdk1.2.2. Yours would more likely be in c:\j2sdk1.4.0_01. You may have to click on the Browse button in order to look through the directories and find JDK.
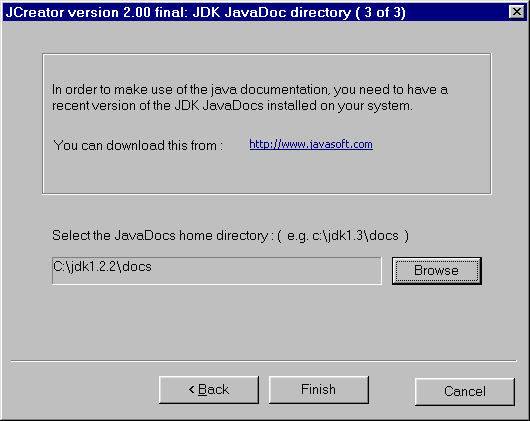
Lastly, tell the installer where the Java documentation files can be found. If you haven’t downloaded them, you might want to do so now.
When you have entered the correct directories for JDK and the documents, JCreator will launch. After you close the tip window, you will be in the main JCreator window.
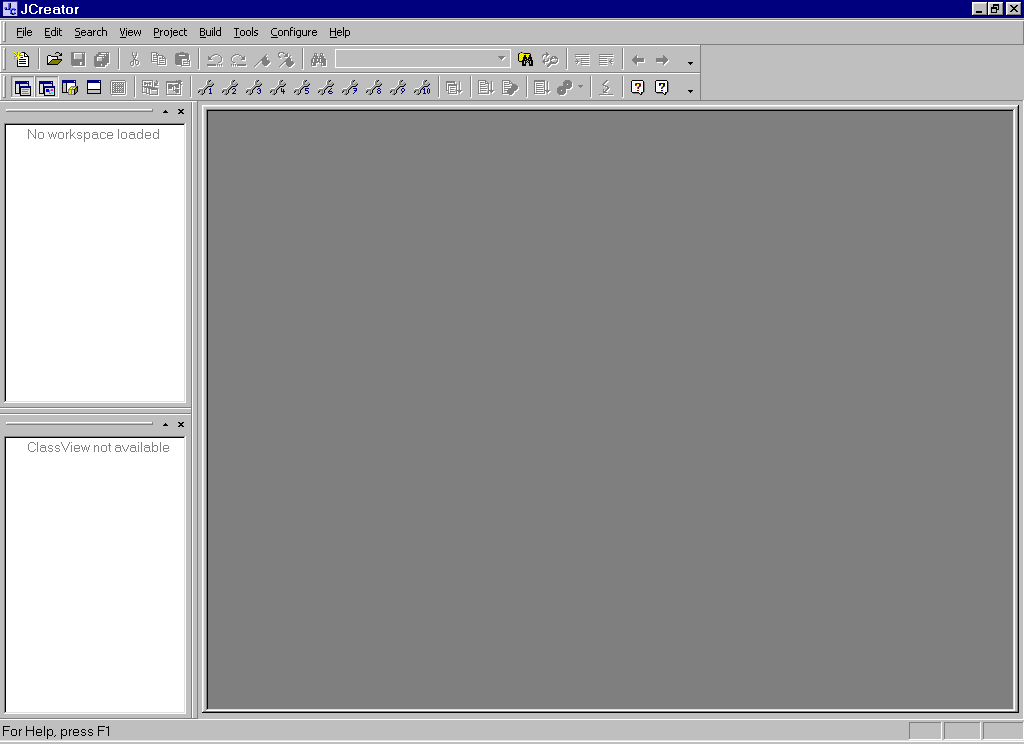
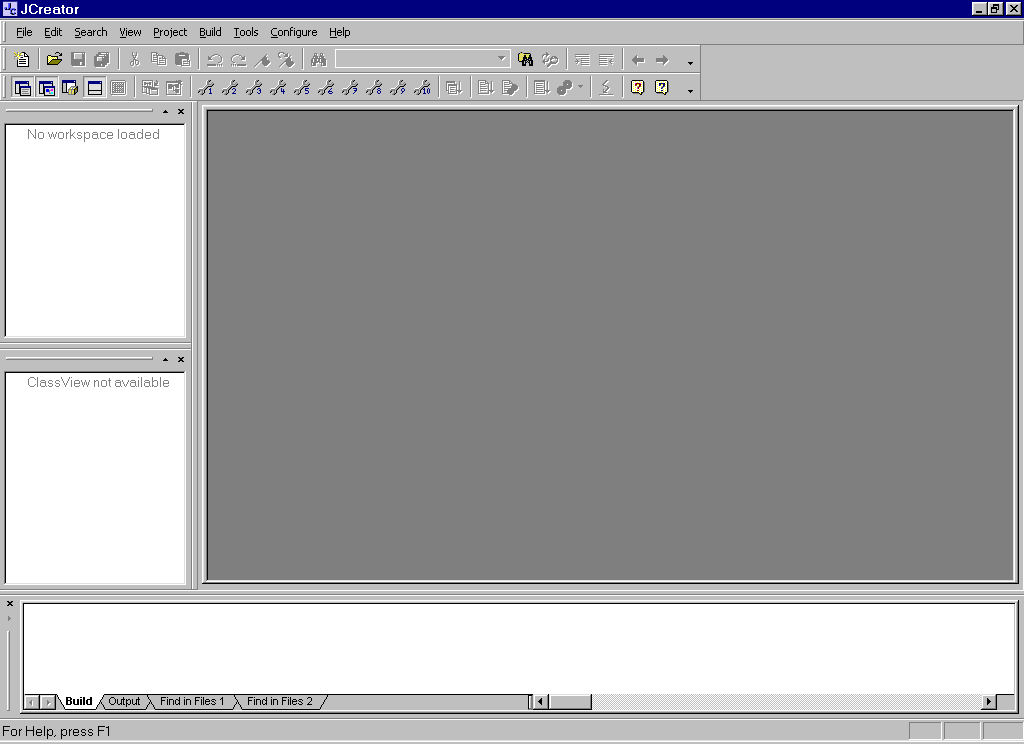
In order to see the window at the bottom, click on the fourth icon over in
the toolbar (bottom row). This will give you both the editing window and the
window for compiler messages. The environment that you will want to work in is
on the next page.
Once you have both JKD and JCreator installed and set up, you can begin
programming. Consult the document called Creating an
Application in JCreator for instructions how to develop a Java project.