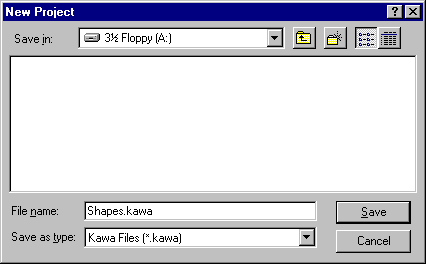
In Kawa, choose New from the Project window. Give your project a name and save it on your disk. The project in the example is called Shapes.kawa. You should see a screen like the one below.
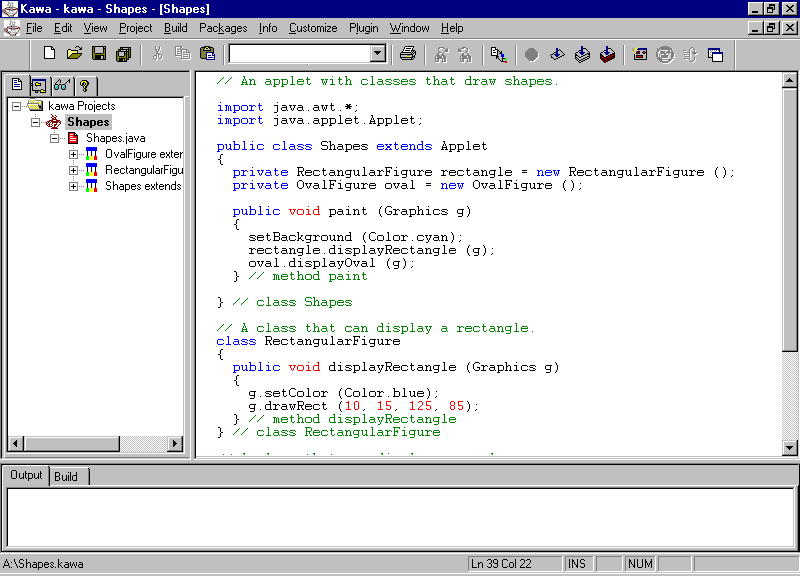
Next, you can add a file to the project. This can be either a new file or one that is already on your disk. In the example below, we have added an existing file, called Shapes.java. Details concerning it are displayed in the frame on the left. This area shows the classes that make up the applet.
You can load the .java file by double clicking on its name in the frame. Or you can open it using the Open command. Compile it using the Compile-F7 command. The class file(s) will be stored on your disk.
Applets require an HTML file in order to be run either in a browser or AppletViewer. Kawa will provide a template file for this that you can customize. When you click on the icon to run an applet or application, Kawa will display the message below.
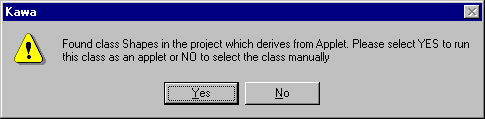
Select Yes to run the applet using AppletViewer. Kawa will create an HTML file and list it in the project frame on the left.
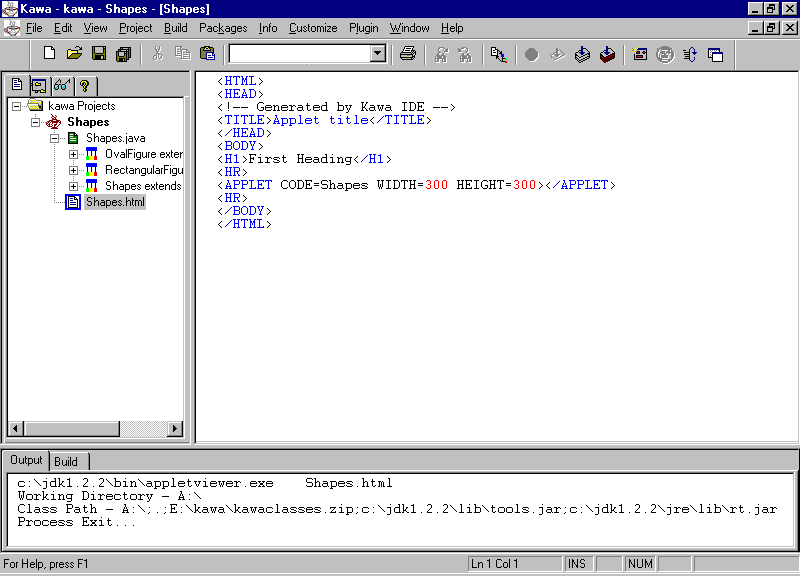
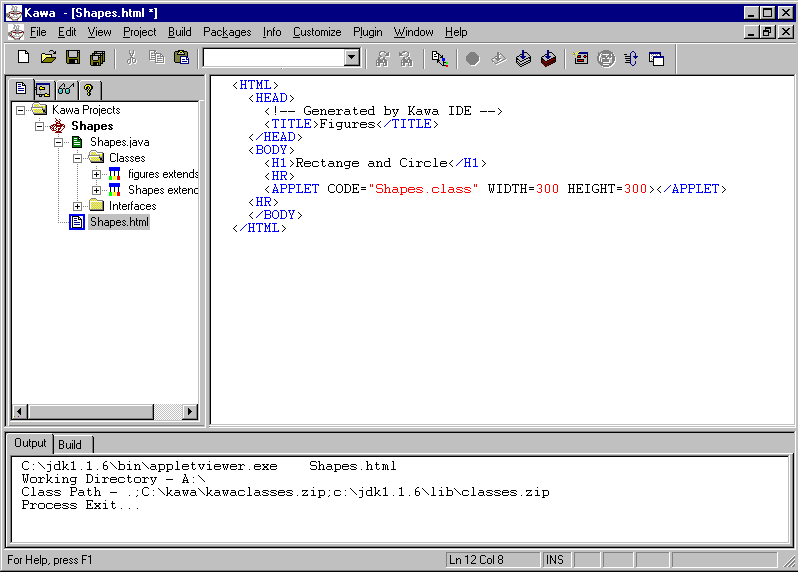
This file should be changed. Fill in an appropriate title
and heading. Then change the Applet Code= line to read
<Applet Code = "Shapes.class"
>. You may add
anything else to the file that you wish, but Kawa supplies the essential
html code.
You now have a simple project with two classes and an
html file. You can add more classes to the project and then compile and
test the result. Anytime you use Kawa (on your own computer) your projects
will be listed on the left. You can open any one of them by first selecting
it and then choosing Project/Open. If a project is open, any one
of the files can be loaded simply by double clicking on its name.
Before you can work with any other file, however, you will have to close
your project. Right click on the project in the project window and
select Close.